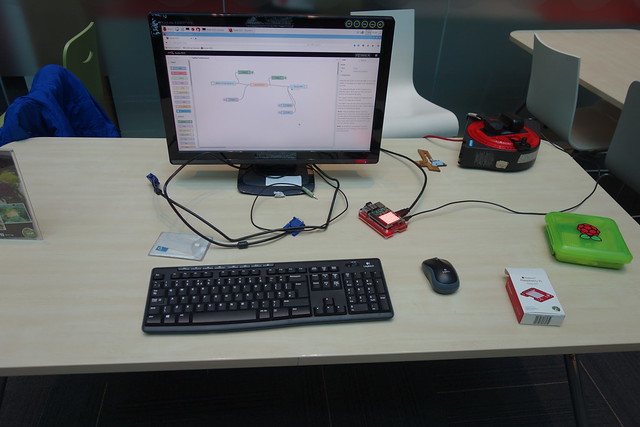
I recently stumbled across some excellent micro:bit resources on this website, I liked the look of the micro Python Simon game project so I built the project to try it out.
 |
| Micro Python Simon game |
More details about the BBC micro:bit Simon Game I used as a starting point can be found here
This gave me an idea, could I connect a micro:bit to an vintage MB Simon game hmmm. The original full sized game uses a custom MB Electronics processor (the MB4850) which performs nearly all of the functions for the game. The only other significant piece of electronics is a SN75494N chip which interfaces the processor to the light‐bulbs and the built in speaker.
After a quick hunt on eBay for a broken Simon game, I managed to find one cheap. While I waited for the game to arrive, I knocked up a quick circuit with some 2.5v MES light bulbs and a ULN2003A Darlington transistor array to drive the bulbs. Now for the next part of my cunning plan….
 |
| Testing my idea |
 |
| Breadboard Layout - Showing added bulbs and ULN2003A |
When the game arrived I duly took it apart, sadly it didn’t work and was pretty beaten up, oh well. I found some useful information about these classic Simon games here, included on the site was a schematic which helped me trace out the PCB layout so I could tap into the existing bulb and switch circuits.
 |
| MB Simon secrets revealed |
 |
| Simon circuit board top view |
 |
| Simon circuit board bottom view |
 |
| More testing |
I removed the existing custom processor and SN75494N chip and soldered some new wires to the existing colour switches and bulbs. I then connected these to my existing breadboard layout and gave it a quick whirl. It worked brilliantly, another awesome micro:bit hack in the bag.
 |
| Finished project |
Finally I modified the existing code, which can be found on my github.
Update 12th February 2017
I took my Micro Simon game out on the road and it performed well but the bulbs weren't very bright. Despite some experimenting to see if I could get the bulbs any brighter, I couldn't so I decided to build some LED modules to replace the existing bulbs. I brought some of these TruOpto OSPW5111P high intensity white (30000mcd) LED's from Rapid Electronics and set about building the LED modules on a small piece of stripboard.
 |
| LED Modules completed. |
I removed the existing bulb holders from the MB Simon game PCB and installed the LED modules.
 |
| A final test |